Theory - Basics 101
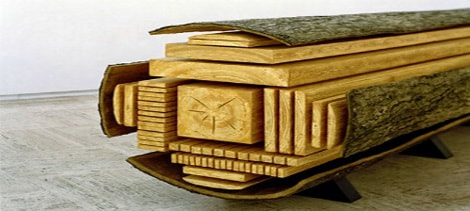

Squaring Wood Stock
When operating power woodworking machinery, the operator must follow and understand the correct and safe procedures and/or steps used to square stock. These steps must be followed if one is to successfully take a rough piece of material and make it square.
Note: These machines are not to be used until instruction and a complete understanding of that instruction has been accomplished.
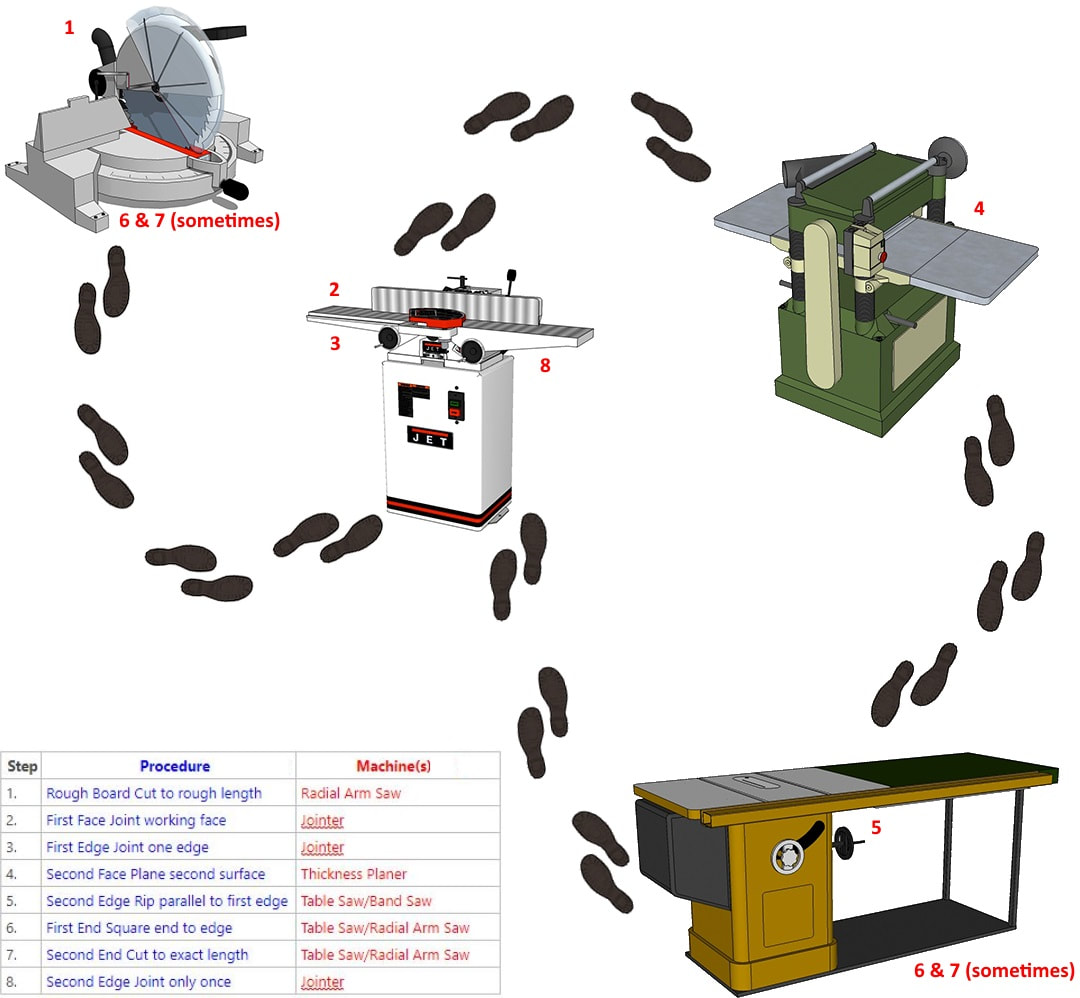
Note: Step 8 may come directly after step 5 if it more convenient.

Gluing Wood Stock
When gluing wood stock together there are several factors to consider such as:
- fit - grain directions and - defects.
Each piece should have the same moisture content otherwise the joint may separate. Avoid using stock that has warps, twists or loose knots. The gluing surfaces must be jointed on the jointer to ensure a tight fit with no gaps between the boards. Prior to applying the glue you should always do a “dry fit” to ensure a tight joint. One of the most important things to keep in mind is the grain directions.
Face and edge grain must always flow in the same direction to prevent tear-out in the planer.
End grain must flow in opposite directions to counter any warping of the board.
After applying the glue it is important to “Air the Joint”, meaning rub the boards against one another to pop any air bubbles caught between the boards.

Project Planning And Design
A good product has a good design and is a result of proper planning techniques. A good product is:
- functional - pleasing in appearance
- makes good use of materials (little wasted material) - shows skill and detail in construction
- is relatively inexpensive to produce - is a result of proper planning and design?
The five steps to proper planning and design are:
1) IDENTIFY THE PROBLEM: What is the problem or conflict that you are trying to solve?
2) IDENTIFY THE LIMITS OF THE PROBLEM: What rules do you have to follow?
(ex. The shelve can not weigh more then 3 pounds, has to hold 15 compact disks.)
3) RESEARCH THE PROBLEM: Find and develop alternative solutions to the problem.
Start to plan and design the solutions to the problem.
4) SELECT THE BEST SOLUTION: Examine all of your alternative solution to the problem.
Pick and re-examine single best solution to the problem.
5) IMPLEMENT THE BEST SOLUTION: Try your best solution. Build it.
The final solution should include:
1) Drawings of the solution. These include: - Sketches
- Mechanical
- Drawings
- Various calculations.
2) Bill of materials. This includes a list of every material and supply that is needed in order to build the solution.
3) A working proto-type of the solution. This is a model or actual example of the design work.
